

Полусухая стяжка пола в Ейске: Технология, преимущества и особенности
Полусухая стяжка пола в Ейске – это современный метод выравнивания поверхности, который отличается повышенной прочностью, быстротой выполнения и минимальным количеством воды в составе смеси. Эта технология активно применяется как в жилом, так и в коммерческом строительстве благодаря своим многочисленным преимуществам. В данной статье мы рассмотрим основные аспекты полусухой стяжки пола, её преимущества, этапы выполнения и используемое оборудование.
1. Что такое полусухая стяжка пола в Ейске?
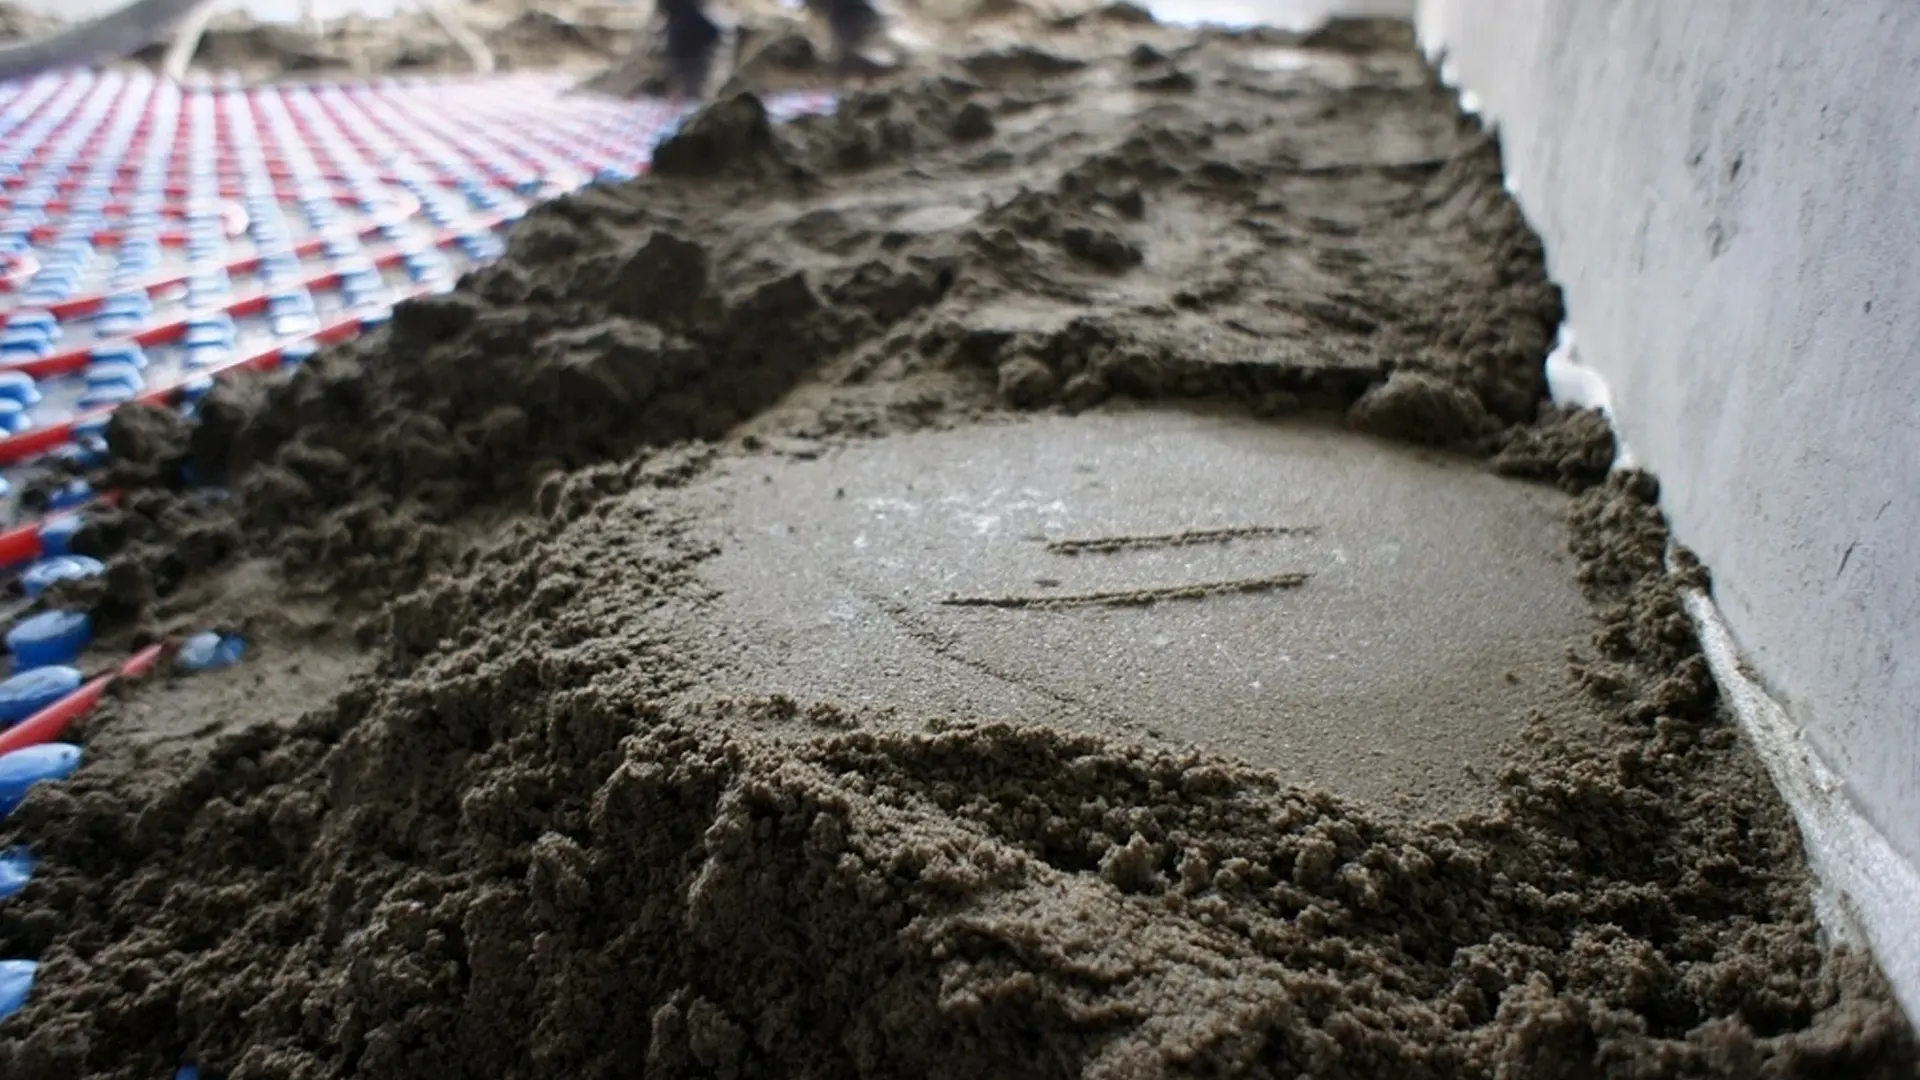
Полусухая стяжка пола в Ейске представляет собой смесь песка, цемента и минимального количества воды. В отличие от традиционных жидких растворов, полусухая смесь имеет консистенцию влажного песка, что позволяет легче формировать ровную поверхность и снижает риск растрескивания и усадки. Технология полусухой стяжки подразумевает использование специализированного оборудования, что обеспечивает высокую точность и качество работ.
2. Преимущества полусухой стяжки пола в Ейске
Полусухая стяжка пола в Ейске обладает рядом значительных преимуществ:
- Fast drying: The minimal water content in the mix ensures fast drying of the screed, which allows you to reduce the time required to complete the work and start laying the final coating in just a few days.
- High strength: Semi-dry screed has a high mechanical strength and resistance to loads, which makes it an ideal option for rooms with intensive operation.
- Minimal shrinkage: Due to the minimal water content in the mix, the screed is practically not subject to shrinkage, which reduces the risk of cracks and deformations.
- Cost-effectiveness: Semi-dry screed technology requires less cement and water, which reduces material costs. Also, due to rapid drying, time and labor costs are reduced.
- Versatility: Semi-dry screed is suitable for various types of premises and surfaces, including residential buildings, offices, retail areas and industrial facilities.
3. Оборудование для полусухой стяжки пола в Ейске
Для выполнения полусухой стяжки пола в Ейске используется специализированное оборудование, которое позволяет автоматизировать процесс и повысить его эффективность:
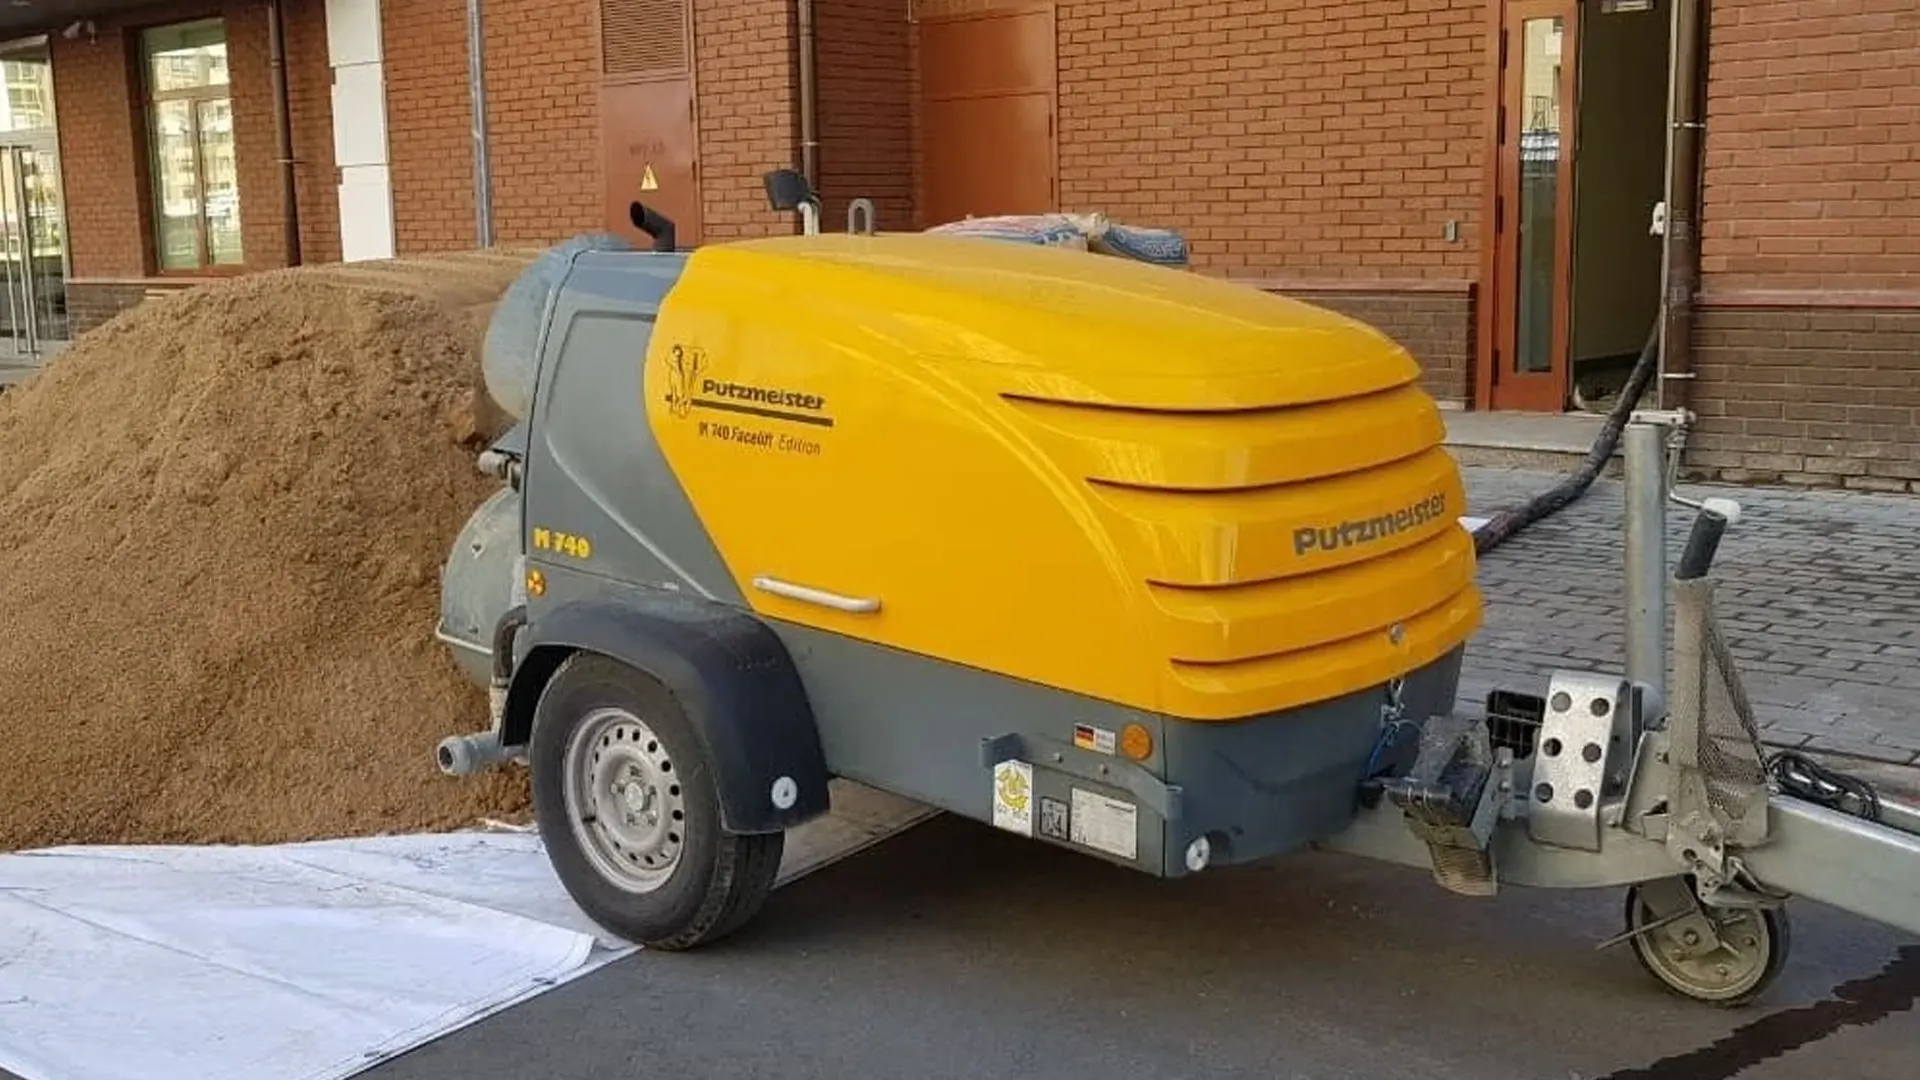
- Pneumatic supercharger: Device for feeding the finished mixture to the place of laying. It consists of a hopper for the mixture, a compressor and a hose for supplying the solution under pressure.
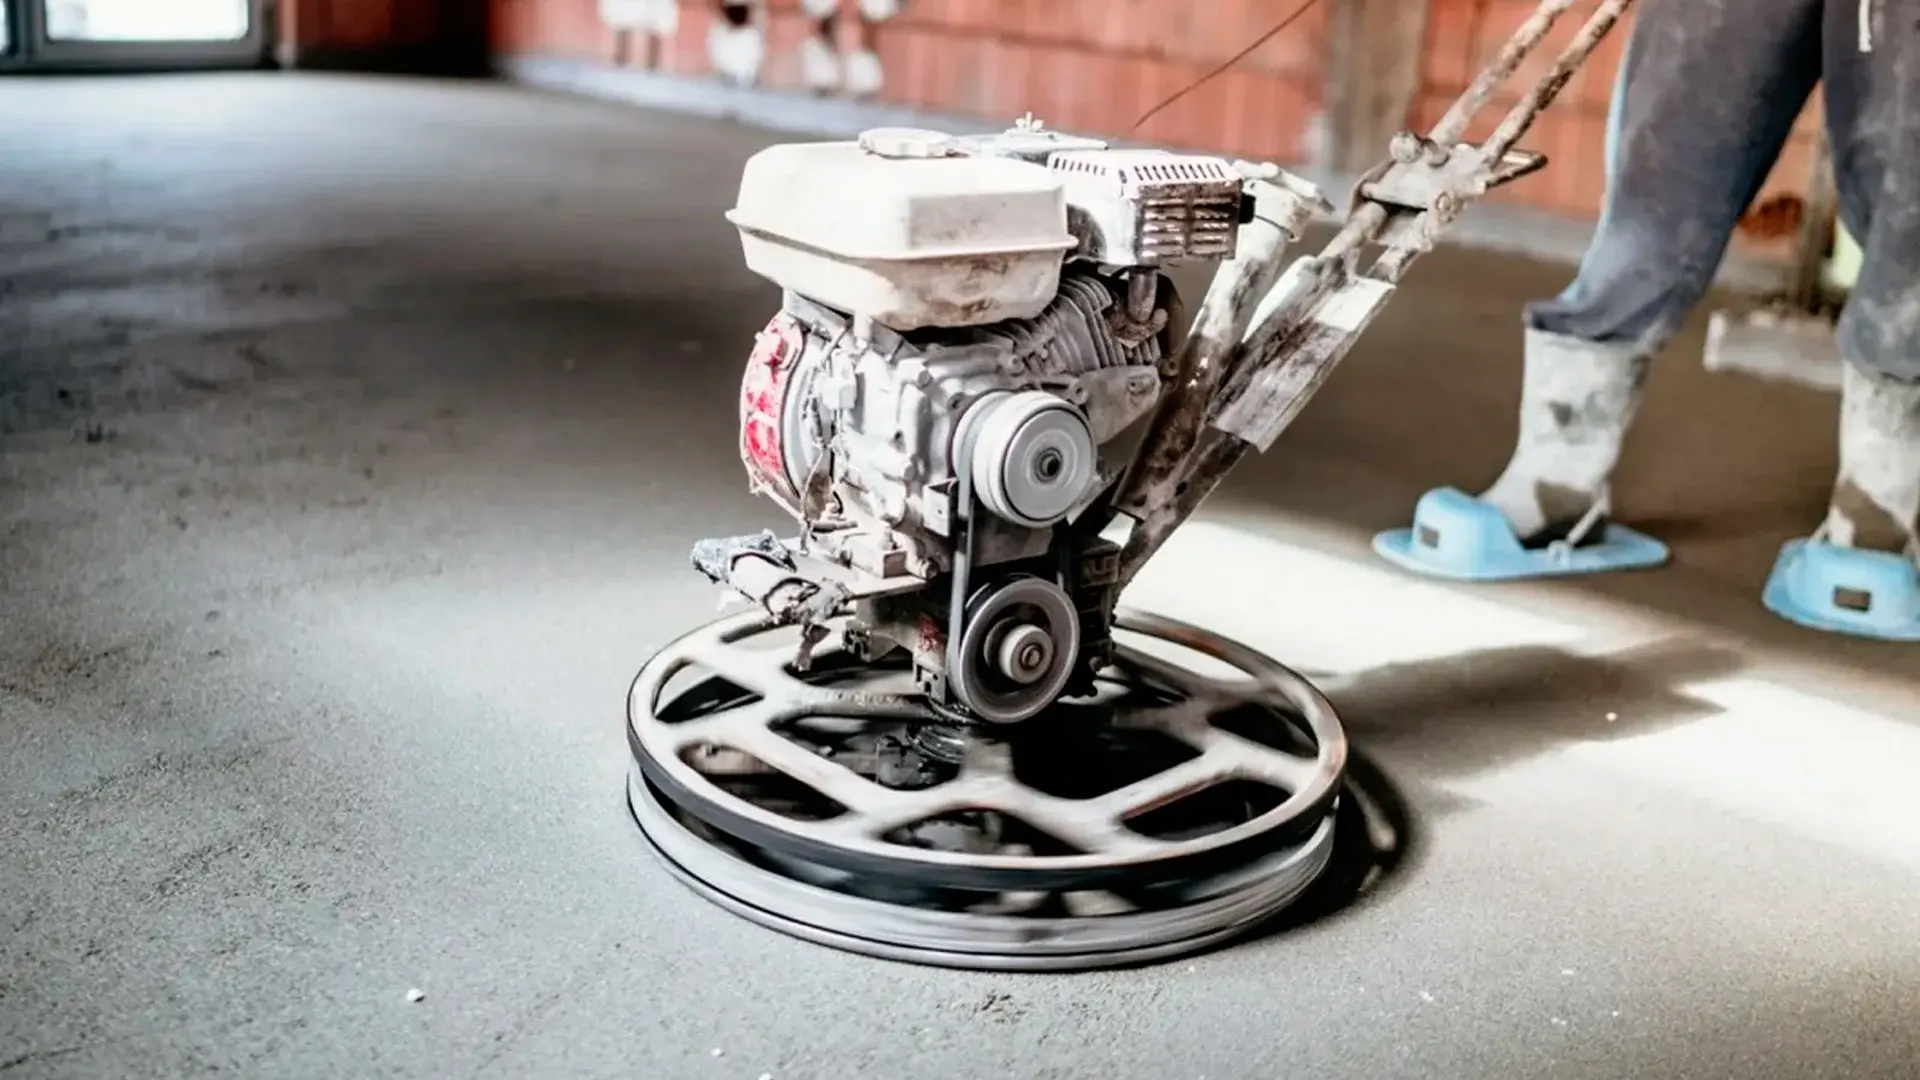
- Grout machines: Devices for levelling and compacting the mixture on the floor surface. They allow you to create a smooth and smooth surface without the need for manual labor.
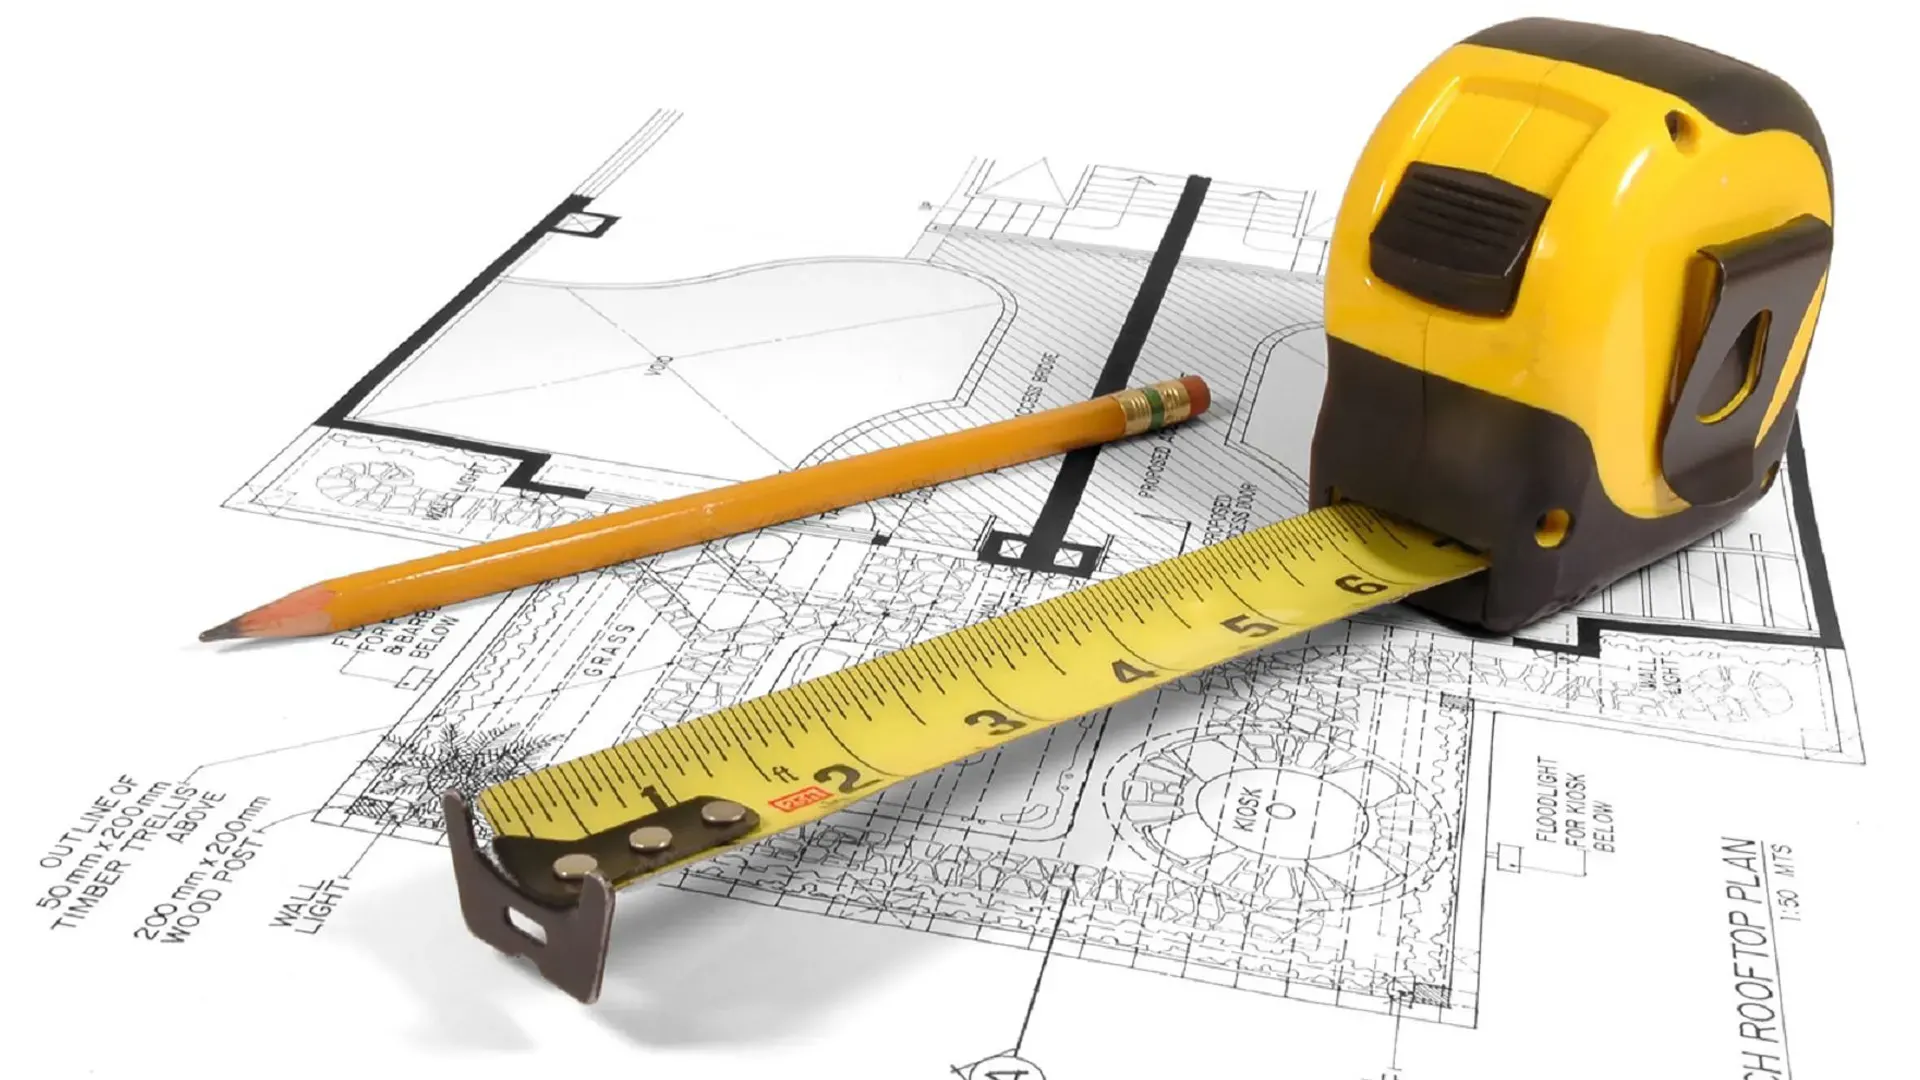
- Laser level: A tool for precise level measurement and screed height control. Allows you to achieve perfect flatness of the surface.
- Grinding machines: Used for finishing screed surfaces, eliminating minor irregularities and creating a smooth base for laying the finish coat.
4. Процесс выполнения полусухой стяжки пола в Ейске
Процесс выполнения полусухой стяжки пола в Ейске включает несколько ключевых этапов:
4.1 Preparation of the foundation
Before laying the screed, the substrate must be thoroughly prepared:
- Remove dust, dirt and remnants of old coatings.
- If necessary, perform waterproofing to prevent the penetration of moisture from the substrate.
- Install a damping tape around the perimeter of the room to compensate for the thermal expansion of the screed.
4.2 Preparation of the mixture
The mixture for semi-dry screed is prepared in a pneumatic supercharger:
- The hopper is filled with sand and cement in the right proportions.
- A minimal amount of water is added to get the consistency of wet sand.
- The mixture is thoroughly mixed until a homogeneous composition is formed.
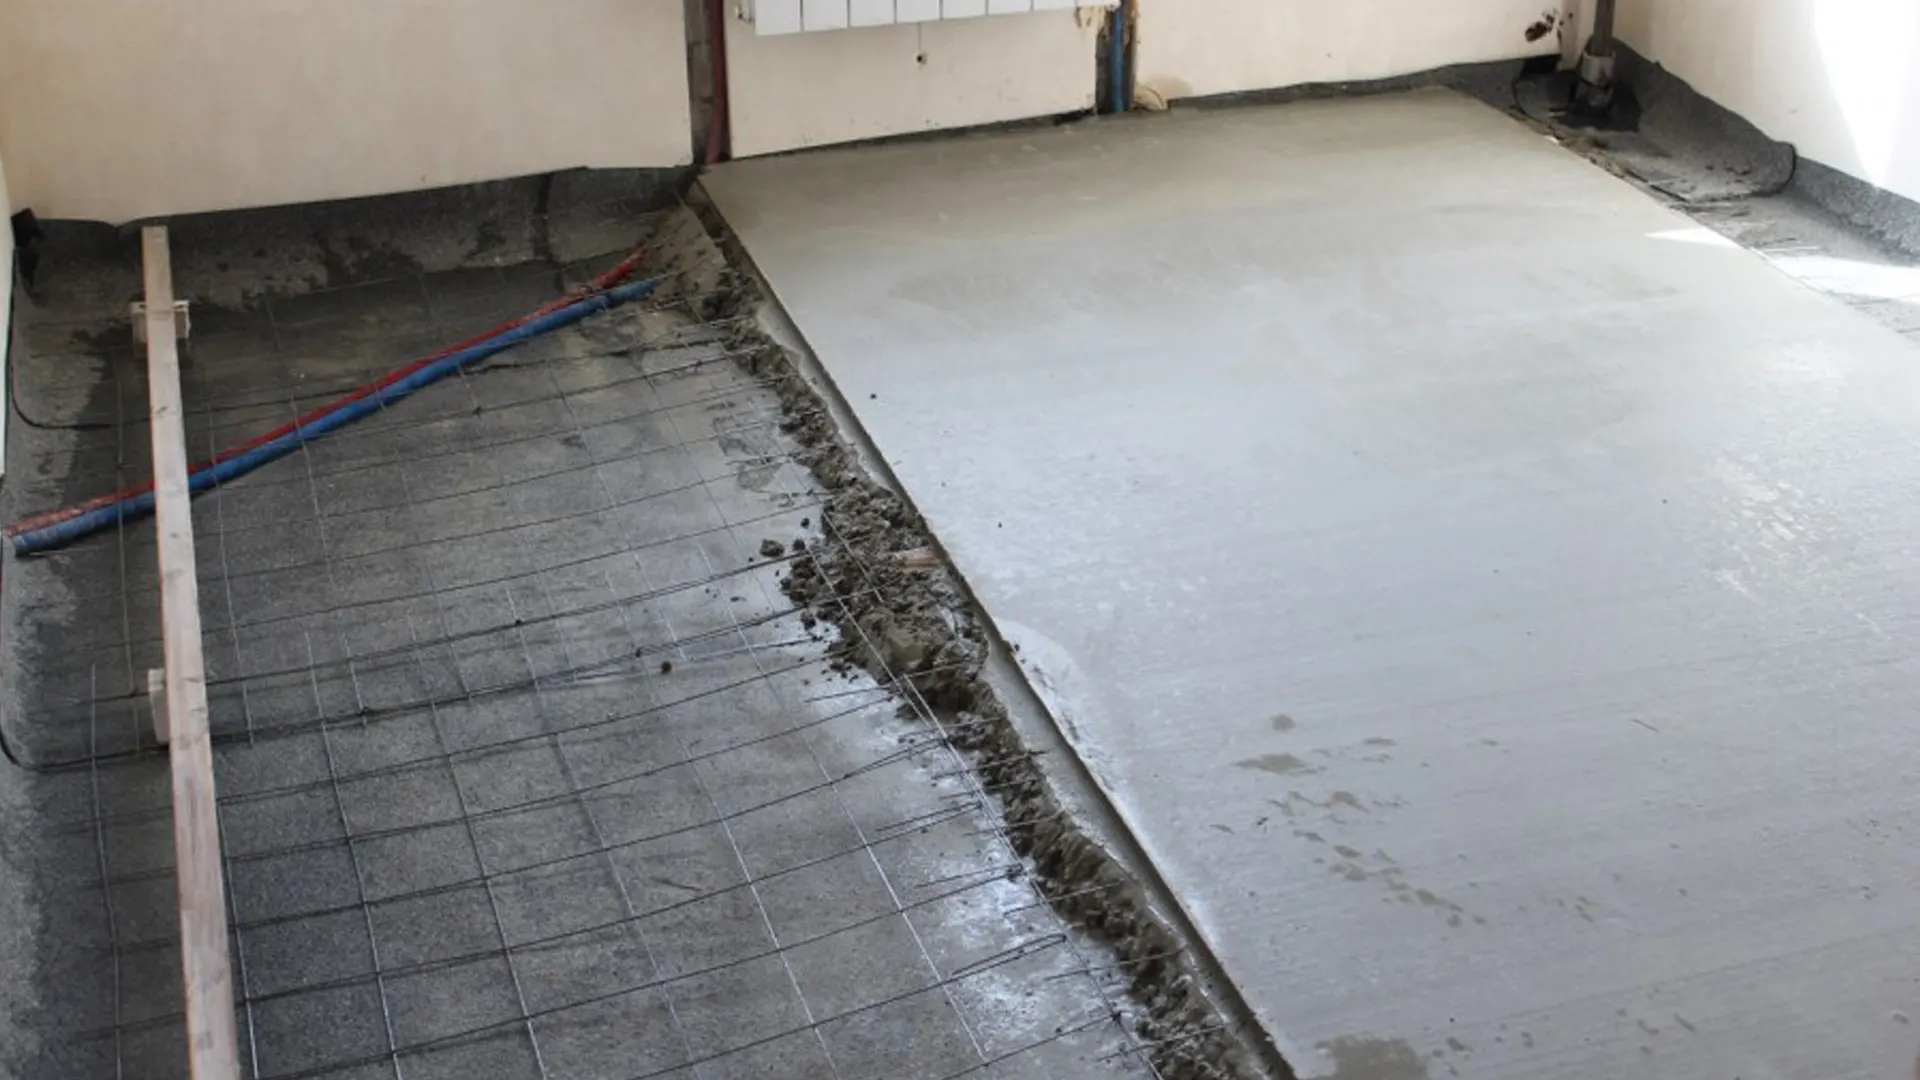
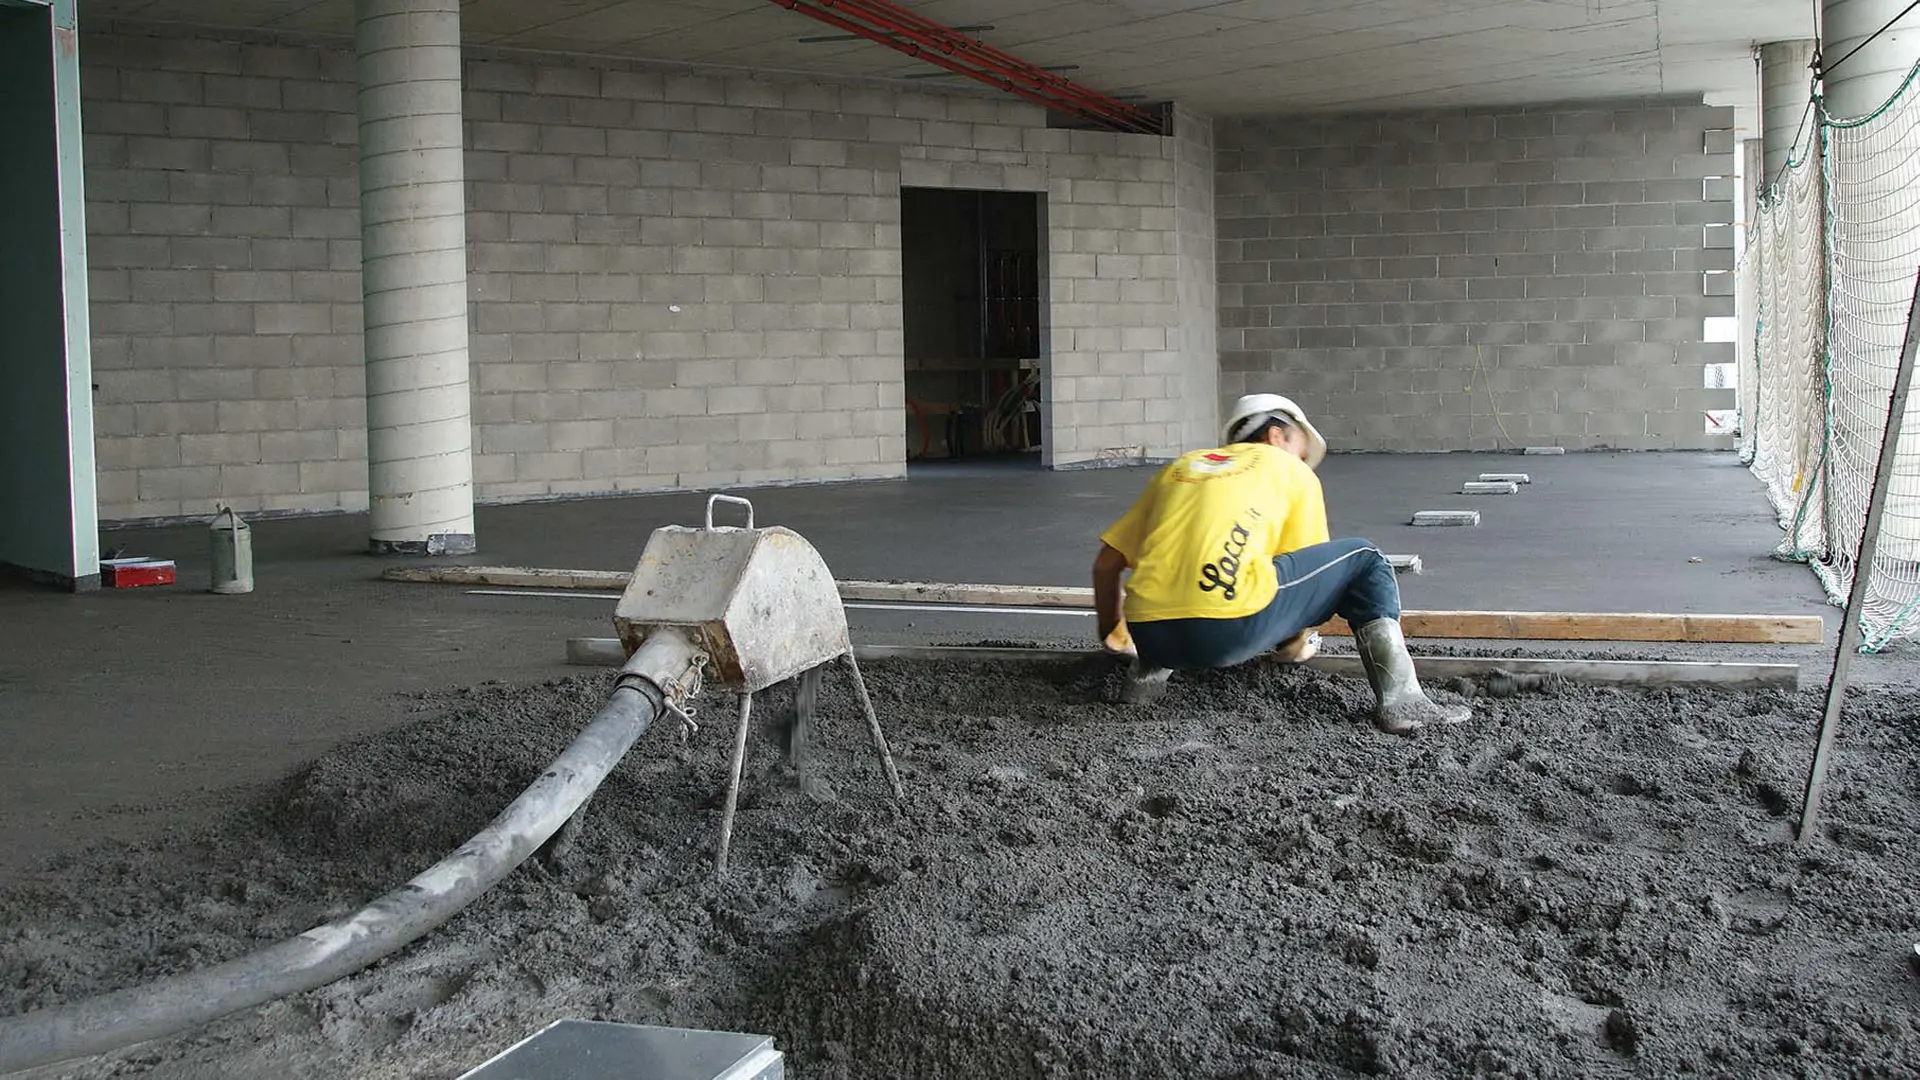
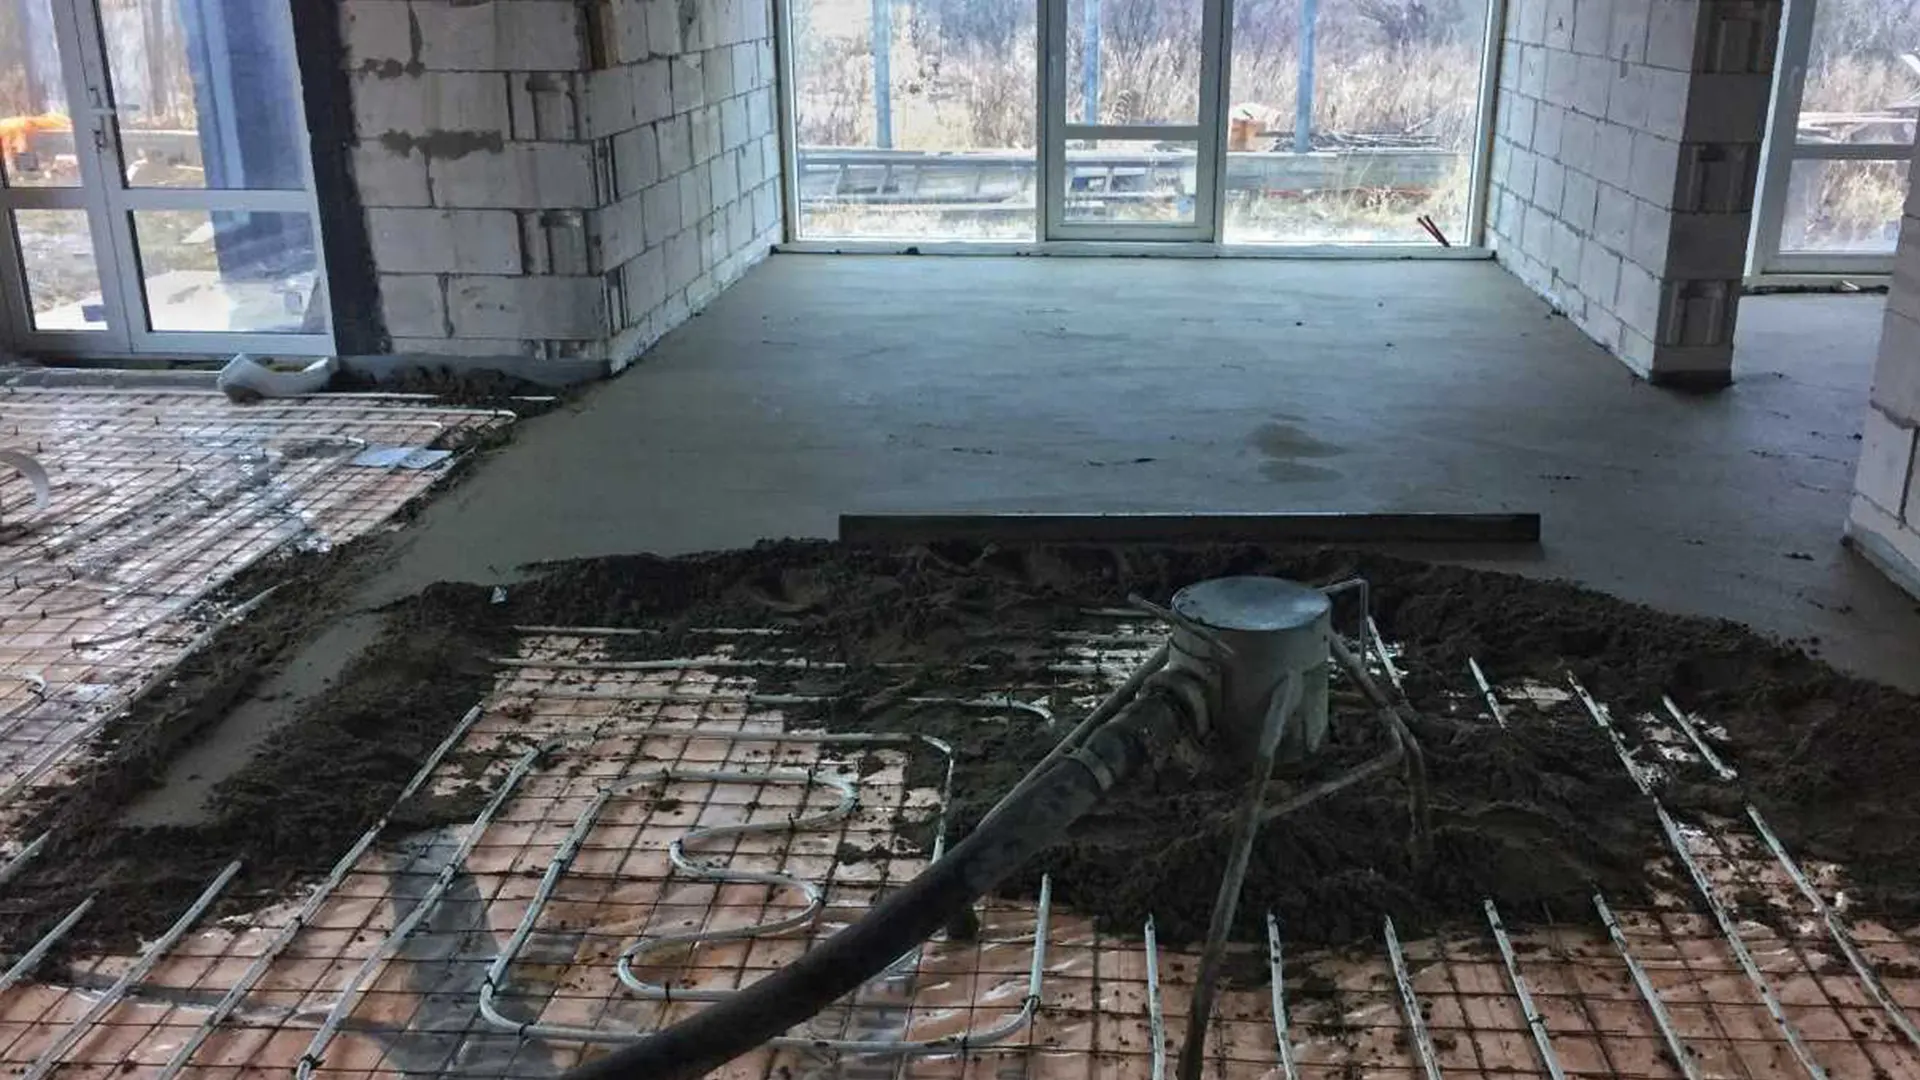
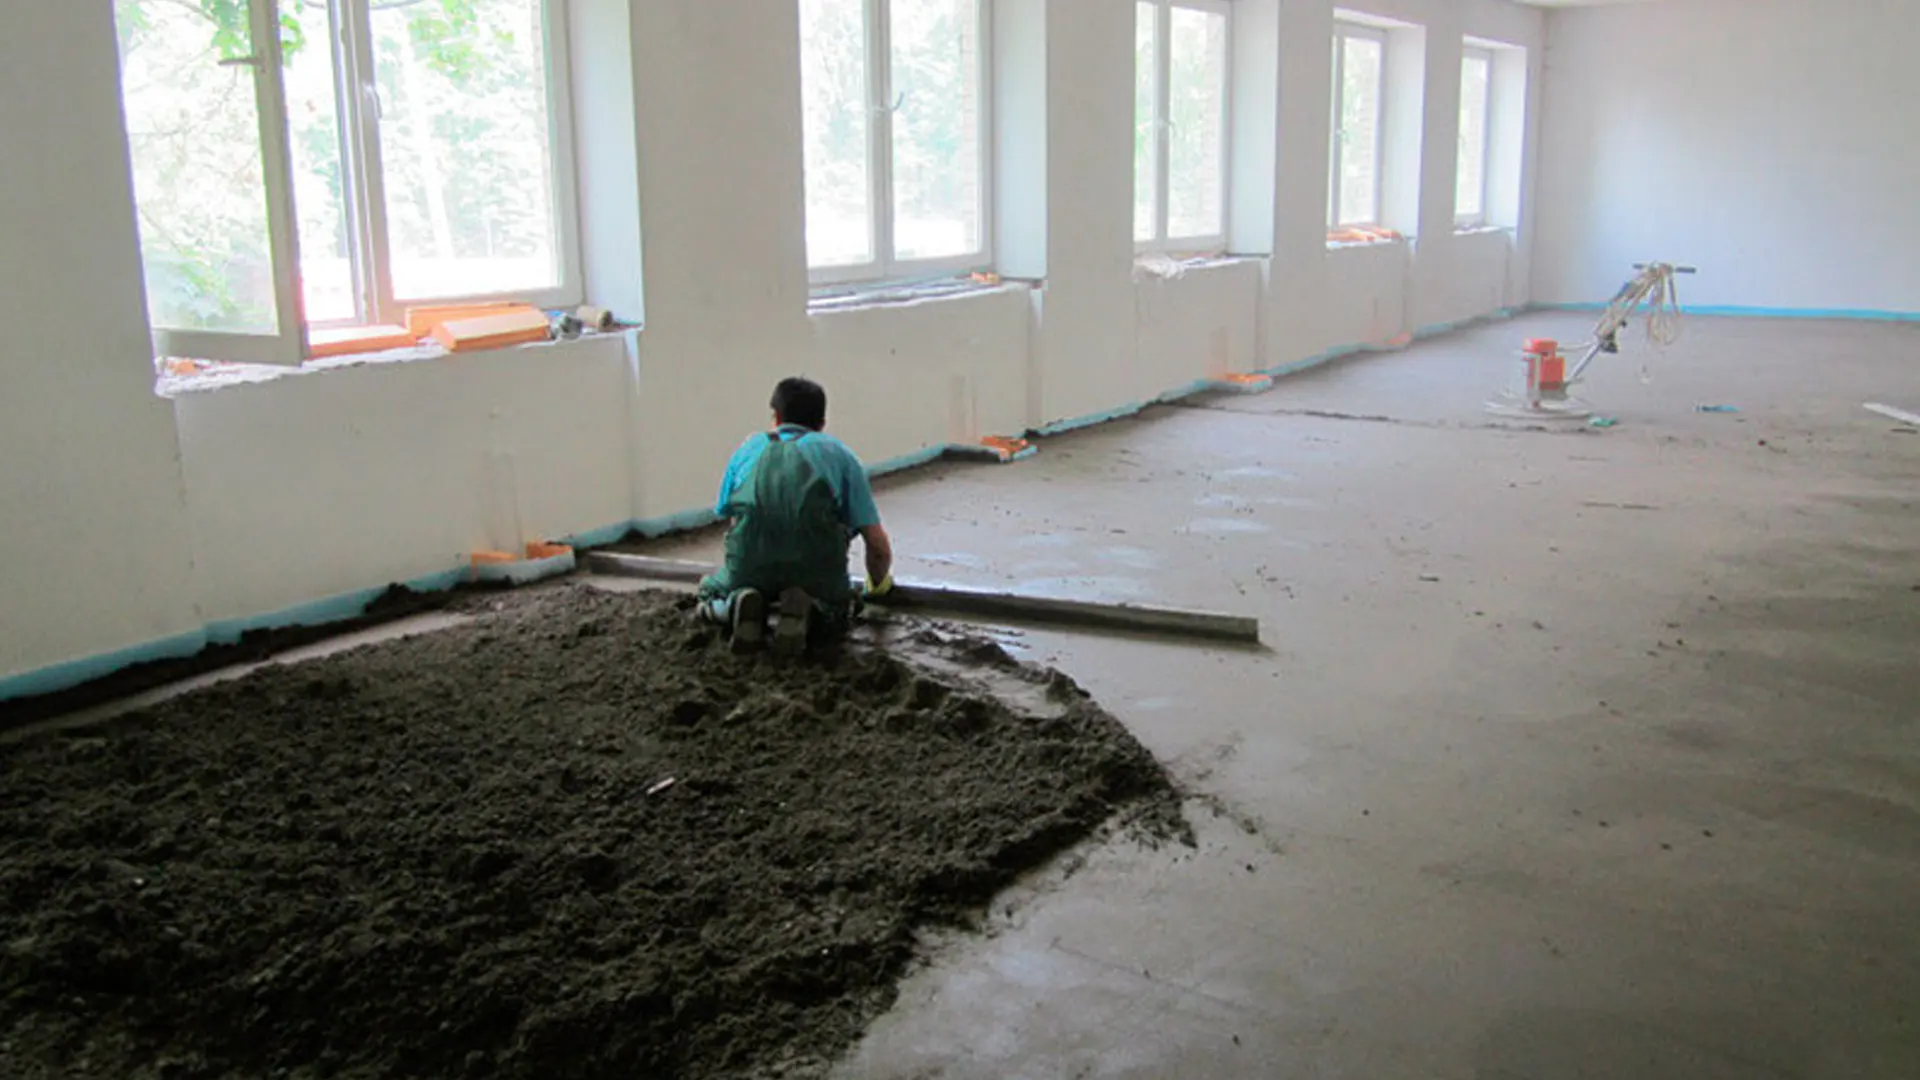
4.3 Laying the mix
The finished mixture is fed to the floor surface through a pneumatic supercharger hose:
- The mixture is evenly distributed over the entire area of the room.
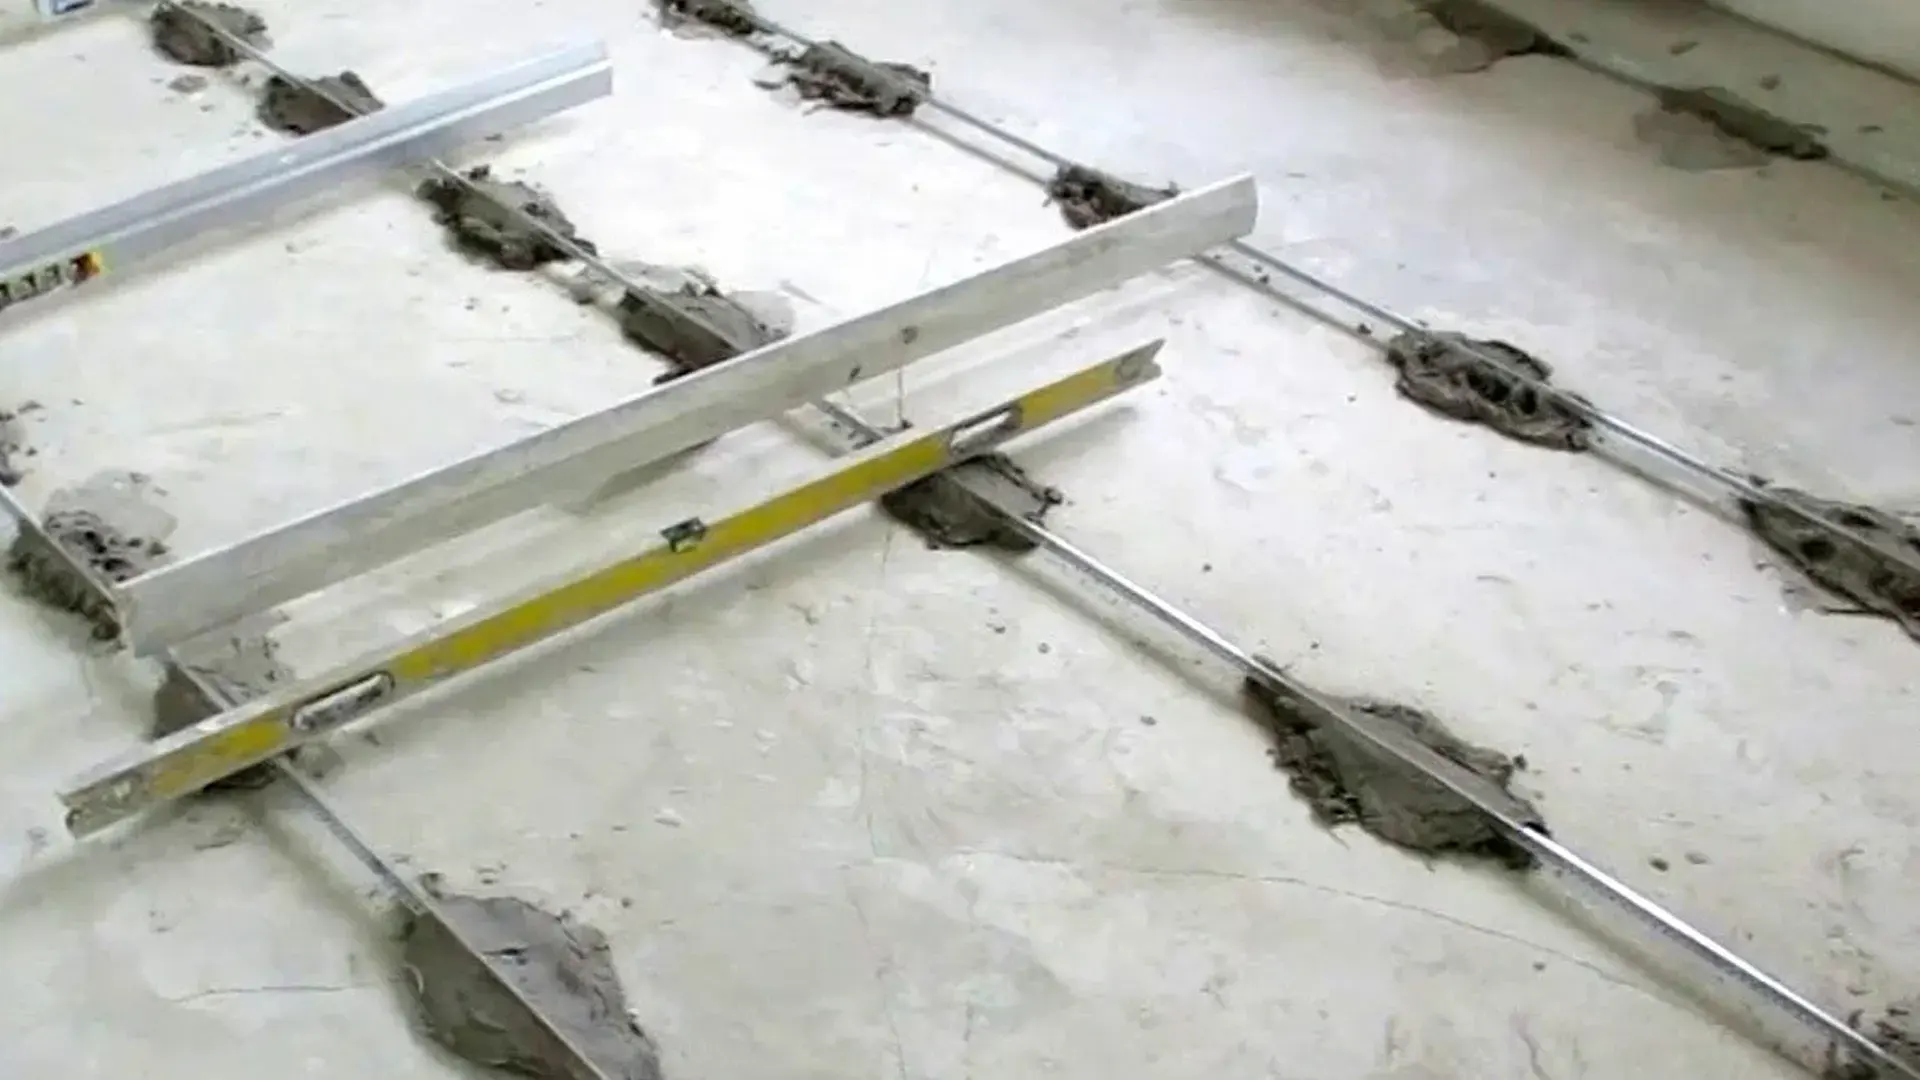
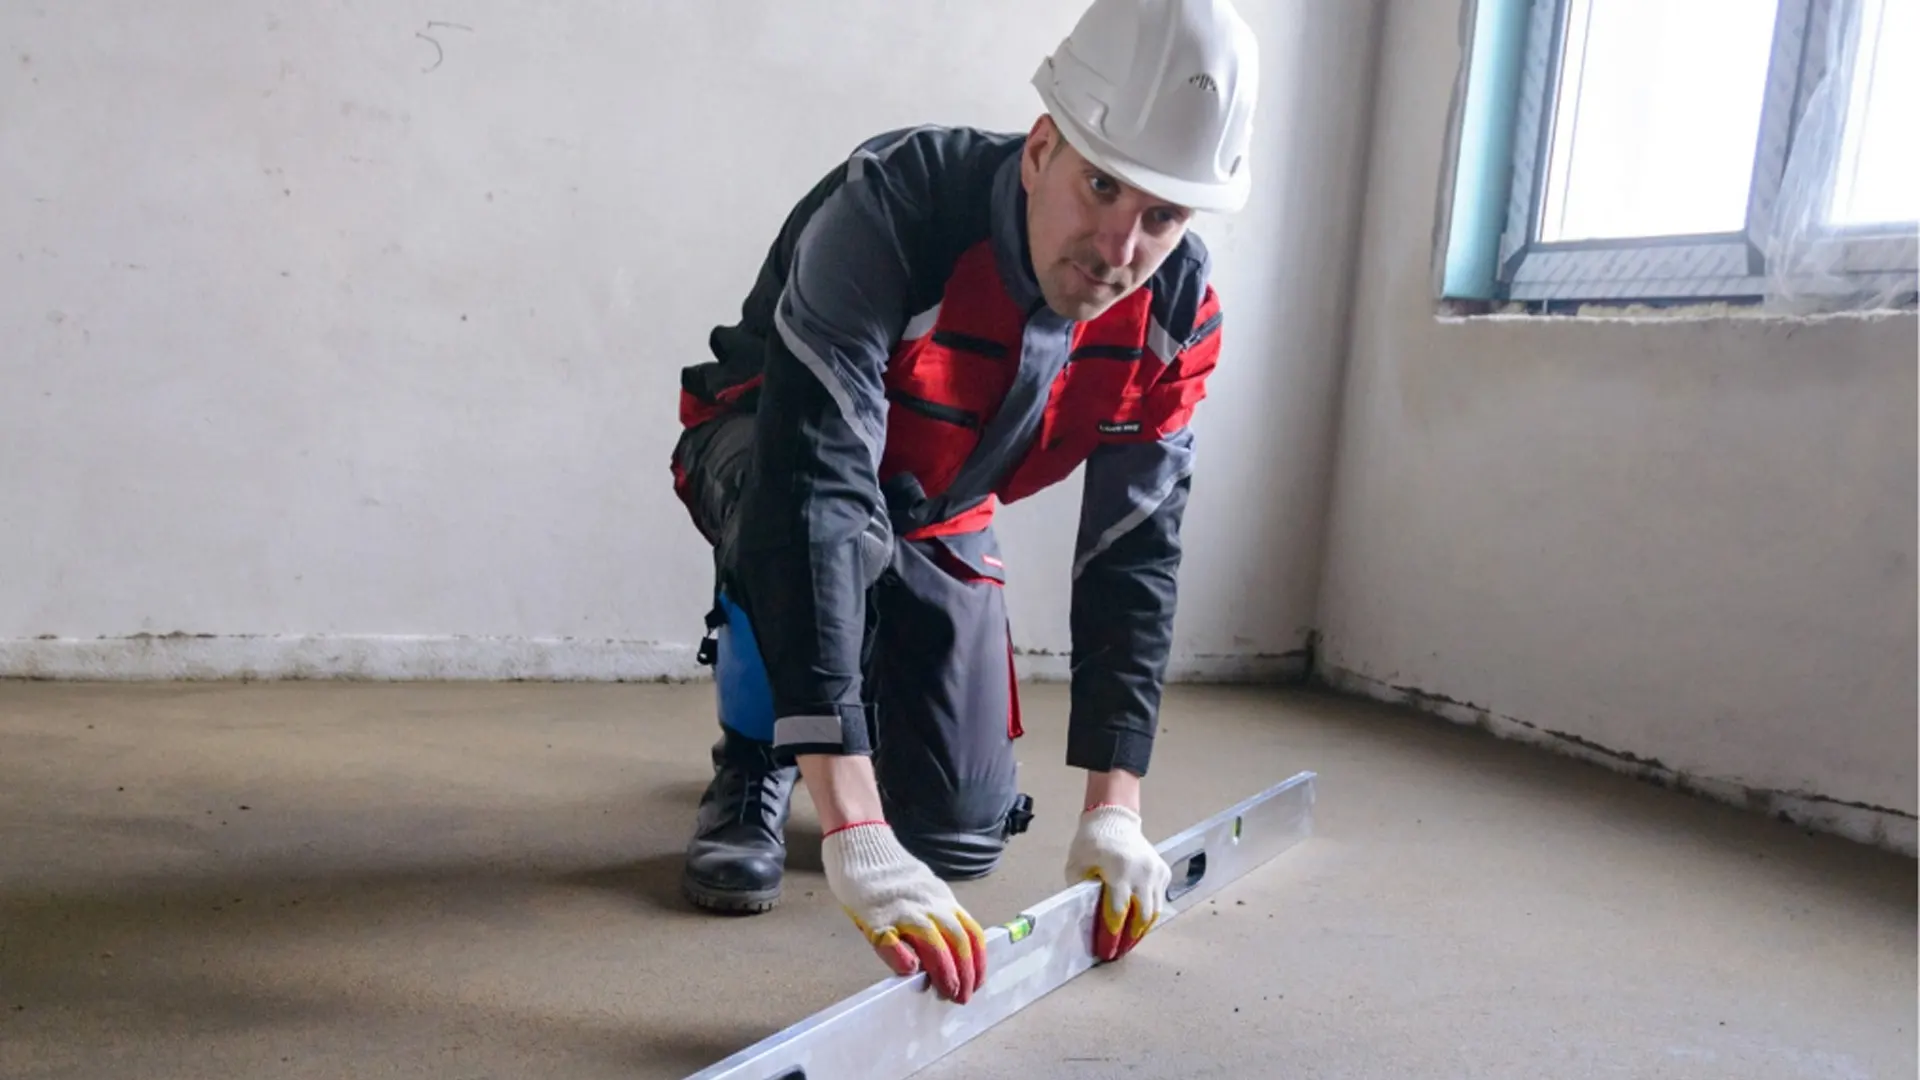
- Using a laser level, the level of laying is controlled, ensuring the smoothness of the surface.
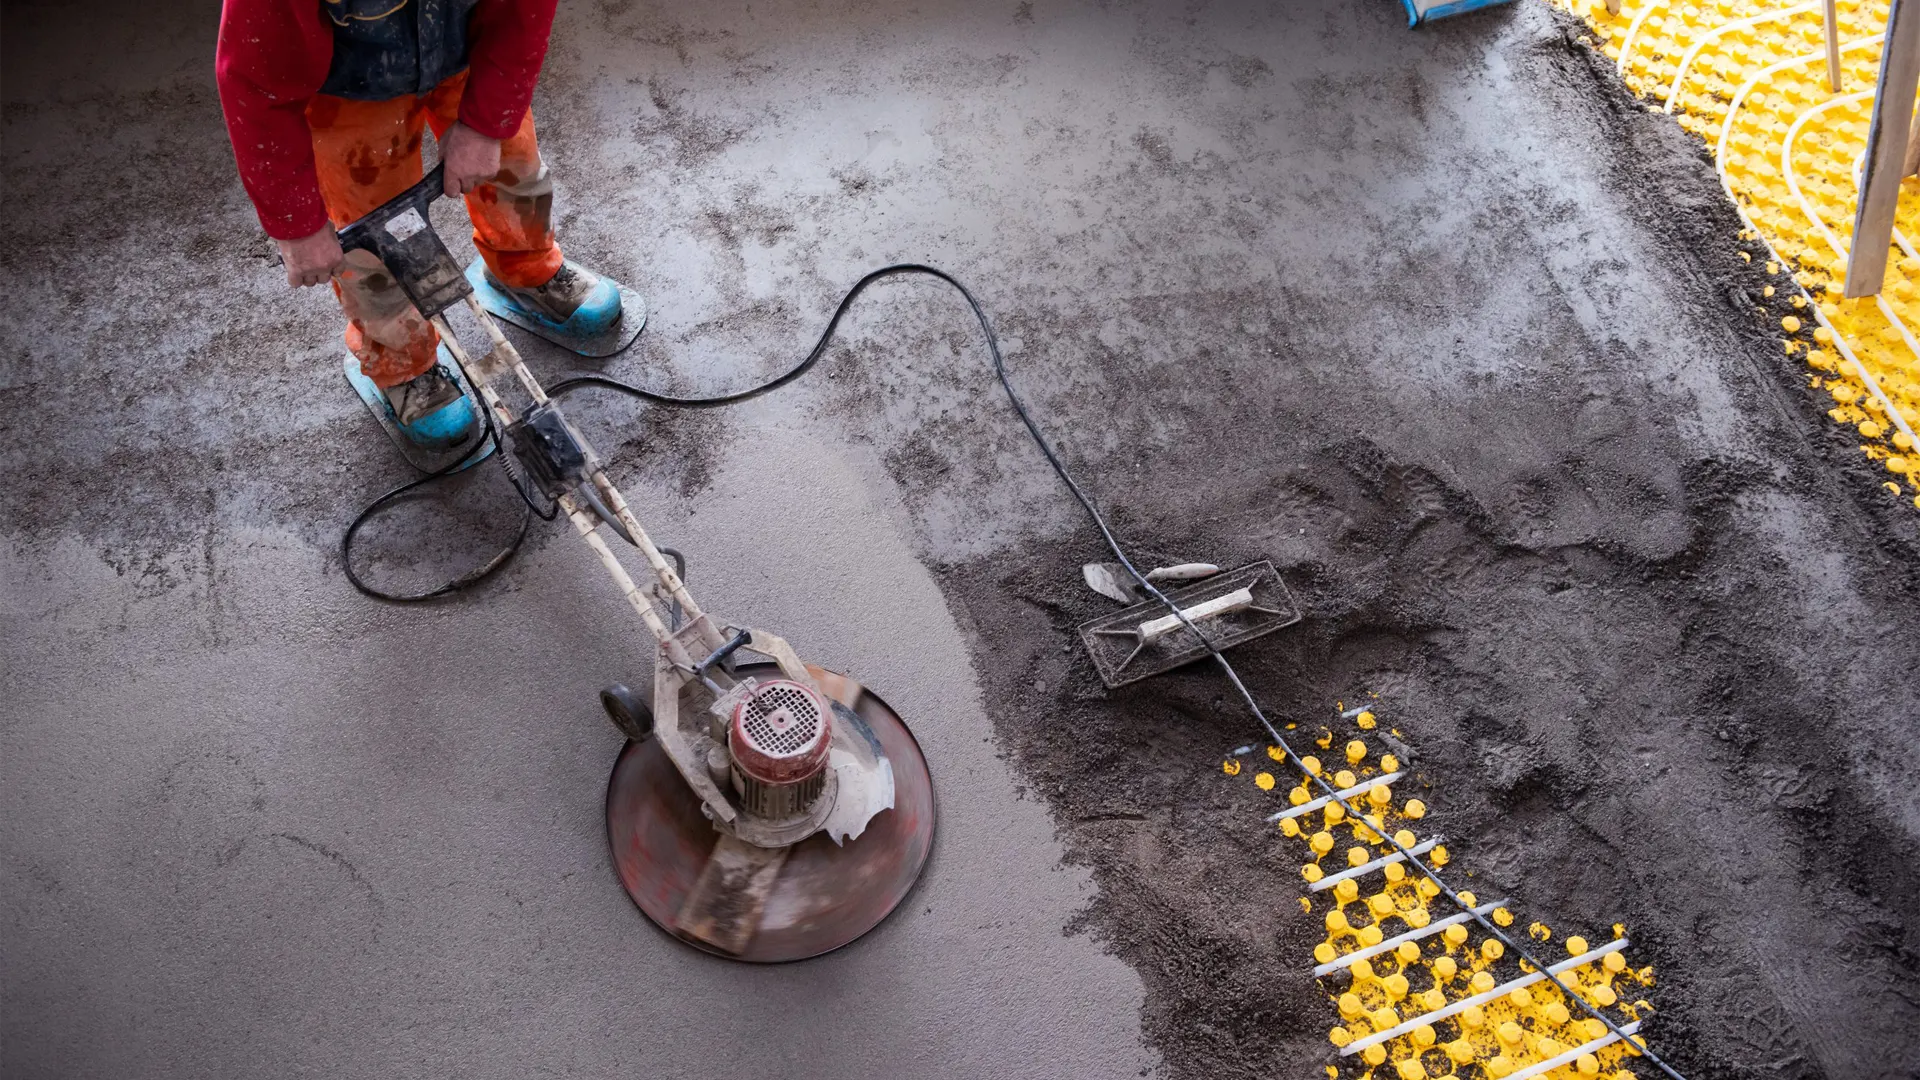
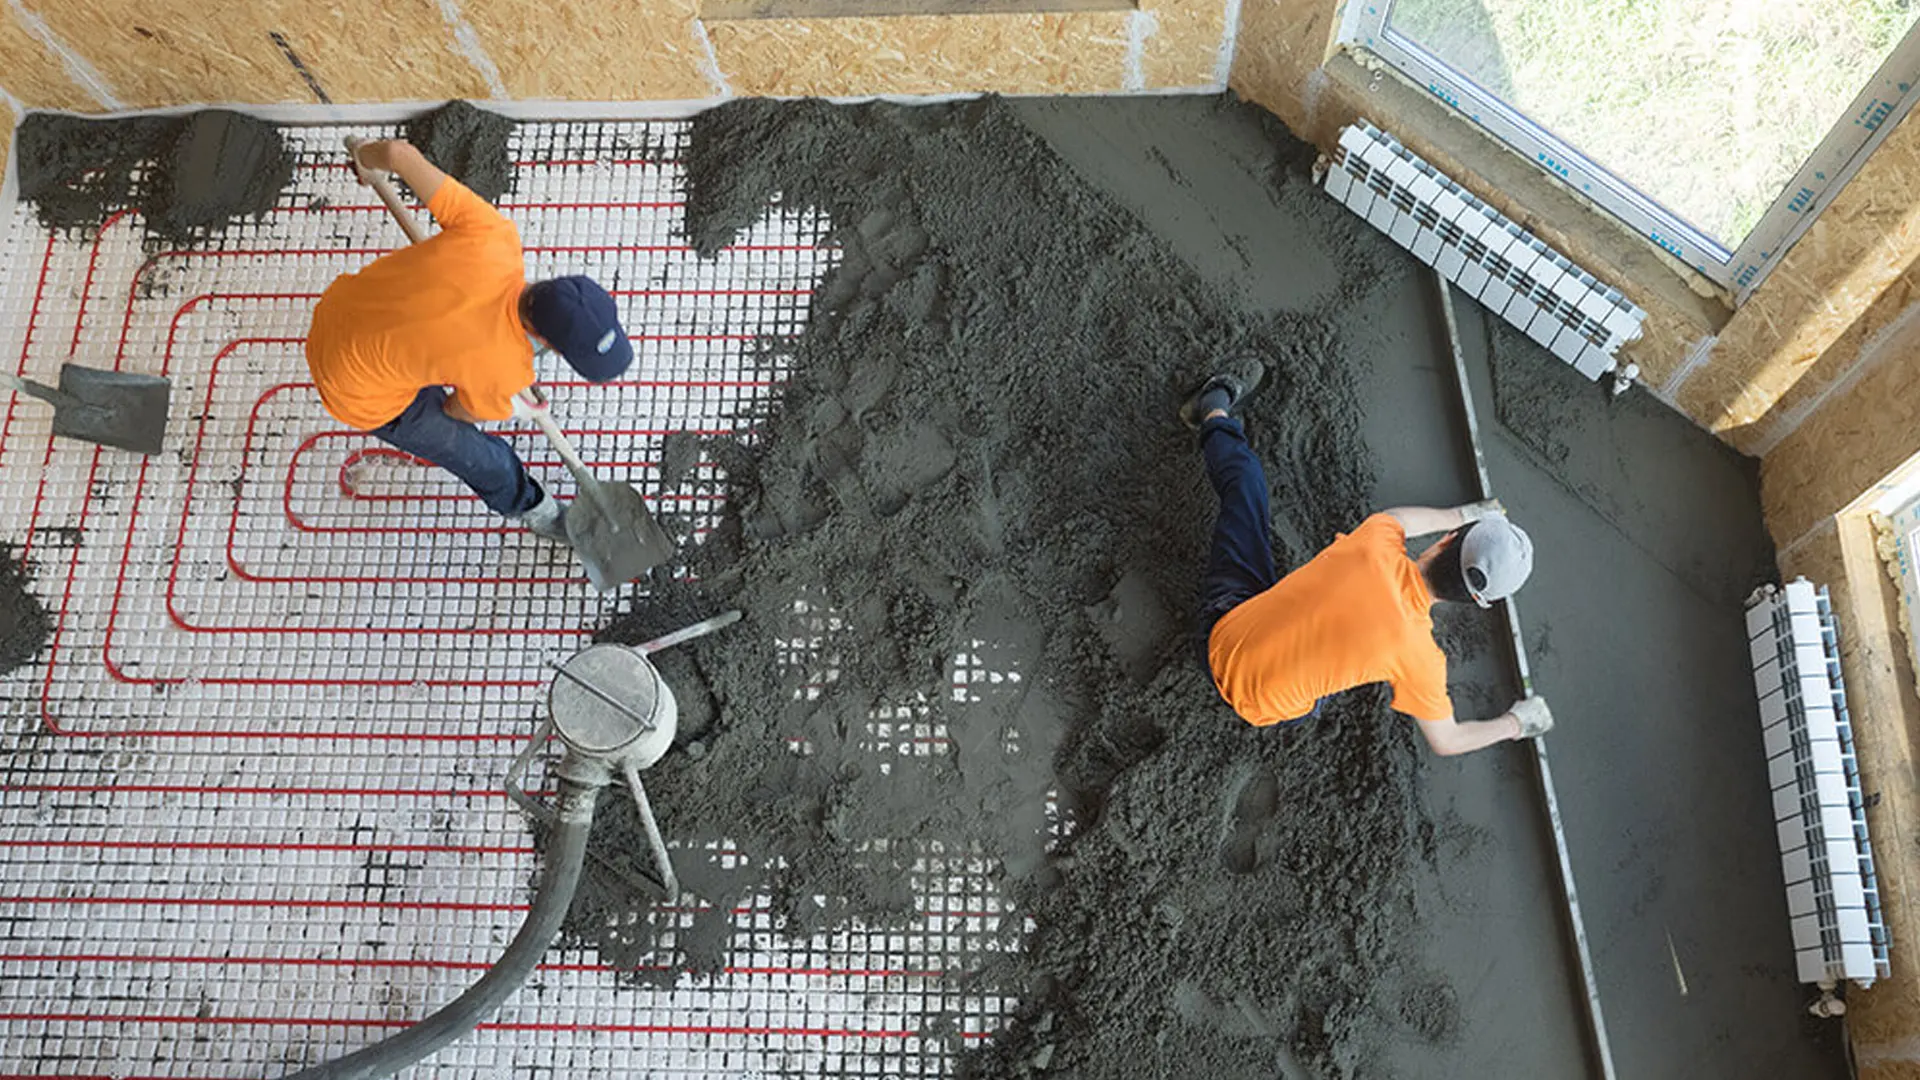
4.4 Alignment and compaction
After laying the mixture, the surface is leveled and compacted using grout machines:
- The machine performs mechanical leveling and compaction of the mixture, creating a smooth and smooth surface.
- If necessary, a sander is additionally used to eliminate small irregularities.
4.5 Finishing works
After leveling and compaction is completed, final work must be carried out:
- Remove the excess mixture and clean the tools.
- Leave the screed to dry for a few days, controlling the humidity and temperature in the room.
5. Types of mixtures for semi-dry screed
Для полусухой стяжки пола в Ейске используются различные виды смесей, в зависимости от условий эксплуатации и требований к конечному покрытию:
- Cement-sand mixture: The main type of mix, consisting of sand, cement and a minimum amount of water. It has high strength and versatility of application.
- Fiber-reinforced concrete mix: Includes fibro-fiber, which increases the strength and resistance of the screed to mechanical loads and cracks.
- Polymer cement mix: Contains polymer additives that improve the adhesive properties and plasticity of the mixture. Suitable for difficult surfaces and operating conditions.
- Gypsum mix: Suitable for indoor use in dry areas. It has a high drying rate and good ductility.
6. Features and recommendations for performing semi-dry screed
When performing a semi-dry floor screed, several features must be taken into account and certain recommendations must be followed:
6.1 Maintaining equipment cleanliness
After completion of work, the equipment must be thoroughly rinsed from the remaining mixture to avoid clogging and damage to the mechanisms. Regular cleaning and maintenance of equipment extends its service life and ensures high quality of work.
6.2 Quality control of the mixture
The mixture should be homogeneous and free of lumps. The water used to prepare the mortar must be clean and meet the requirements of building codes. It is necessary to strictly observe the proportions of the components to achieve optimal consistency and strength of the screed.
6.3 Correct application
The mixture should be applied evenly, avoiding gaps and congestion in certain areas of the floor. The optimal layer thickness is determined by the type of mixture and operating conditions. When laying the screed, it is necessary to control the level and evenness of the surface using a laser level.
6.4 Compliance with safety regulations
When working with the equipment, it is necessary to use protective equipment-glasses, gloves, hard hats. Electric and pneumatic machines must be operated in accordance with the manufacturer's instructions. It is important to take precautions when working with cement and other components of the mixture to avoid damage to the skin and respiratory tract.
7. Применение полусухой стяжки пола в Ейске
Полусухая стяжка пола в Ейске находит широкое применение в различных областях строительства:
7.1 Residential premises
Semi-dry screed is ideal for leveling floors in residential buildings and apartments. It provides a smooth and solid base for laying various finishing coatings-laminate, parquet, tile, carpet. Fast drying of the screed allows you to reduce the repair time and speed up the commissioning of premises.
7.2 Offices and commercial buildings
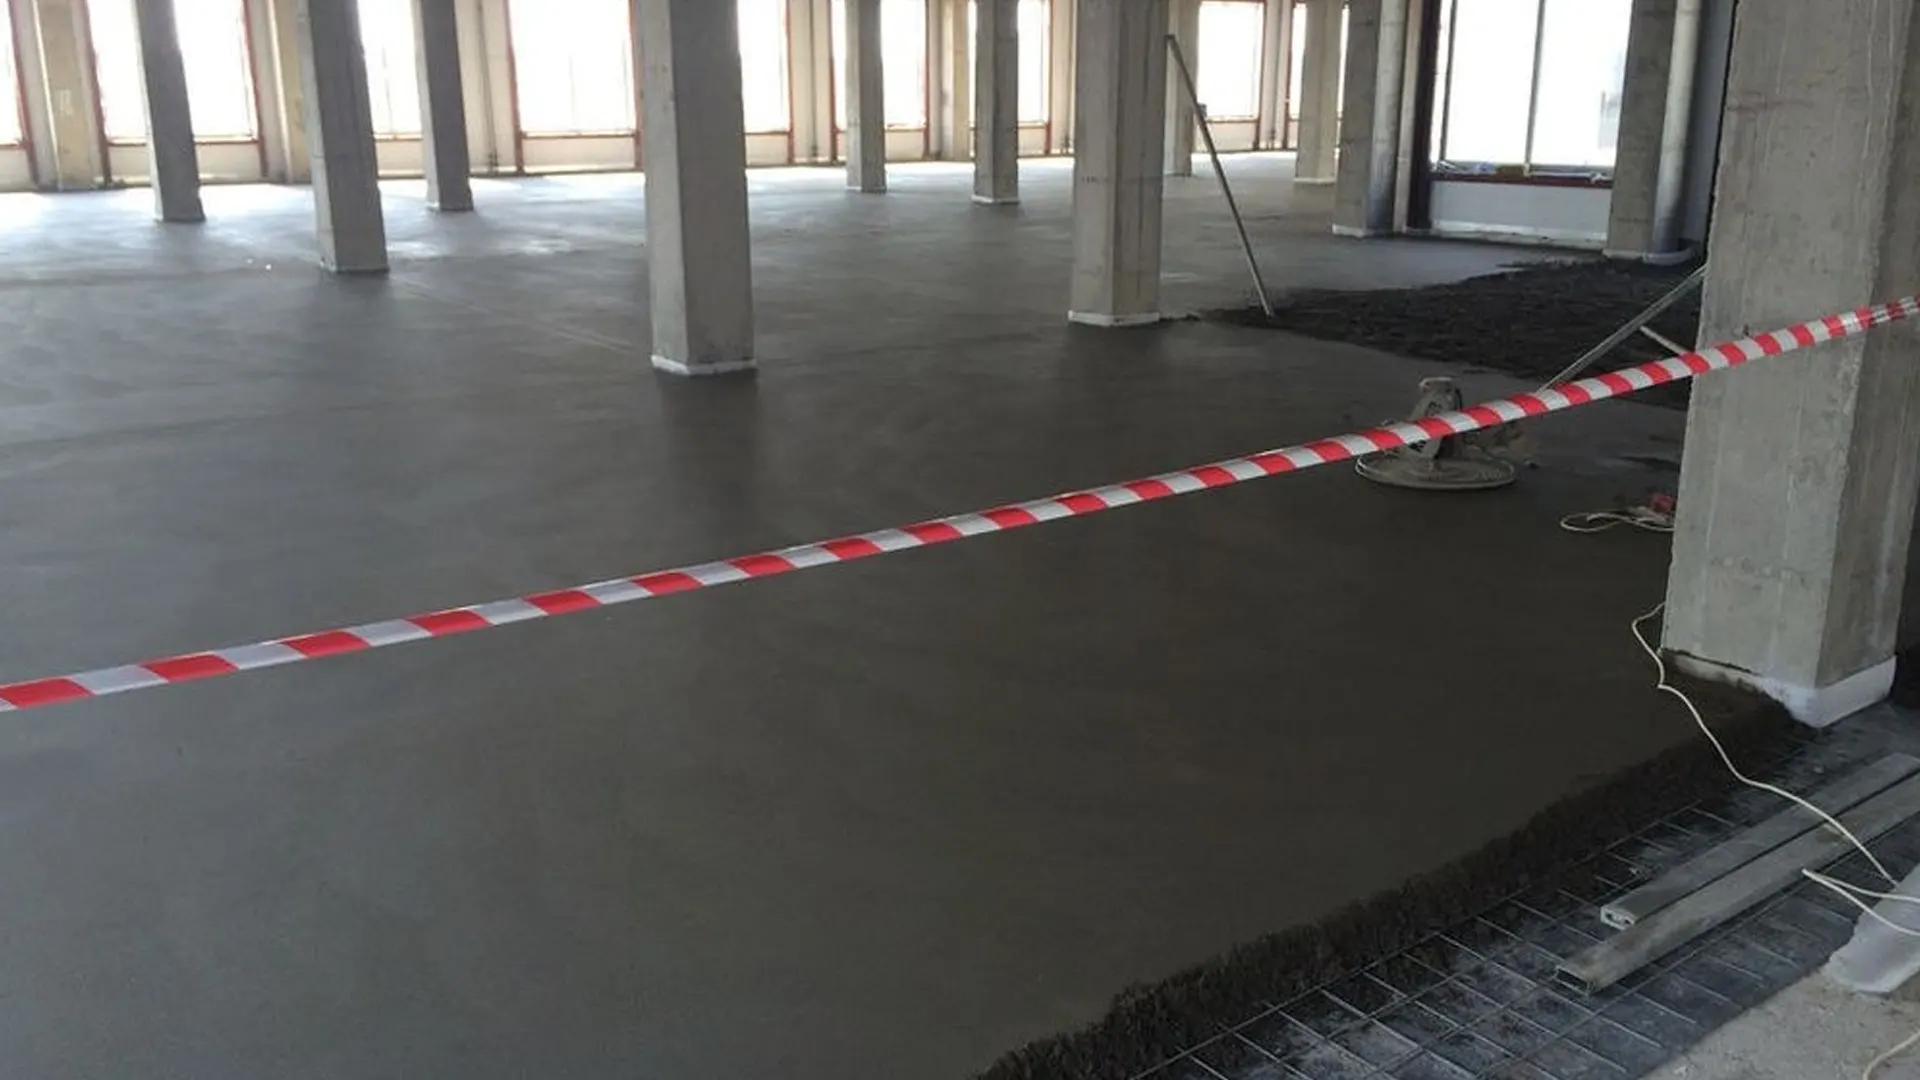
В офисных и коммерческих зданиях полусухая стяжка пола в Ейске используется для создания прочного и износостойкого основания, способного выдерживать интенсивные нагрузки и эксплуатацию. Она обеспечивает долговечность и надёжность пола, а также высокое качество финишного покрытия.
7.3 Industrial facilities
На промышленных объектах полусухая стяжка пола в Ейске применяется для выравнивания полов в производственных цехах, складах и других помещениях, где требуется высокая прочность и устойчивость к механическим нагрузкам. Полусухая стяжка обеспечивает долговечность и надёжность полов, а также сокращает затраты на их обслуживание и ремонт.
7.4 Public buildings
In public buildings such as schools, hospitals, shopping malls and other institutions, semi – dry floor screed is used to create a strong and level foundation that ensures the comfort and safety of visitors. Fast drying of the screed allows you to minimize interruptions in the work of institutions and speed up the process of finishing rooms.
Conclusion
Полусухая стяжка пола в Ейске – это современная и эффективная технология, которая значительно упрощает и ускоряет процесс выравнивания полов, обеспечивая высокое качество и долговечность покрытия. Использование специализированного оборудования и соблюдение рекомендаций по выполнению работ гарантируют идеальную ровность и прочность стяжки, что делает её оптимальным выбором для различных типов помещений и условий эксплуатации.